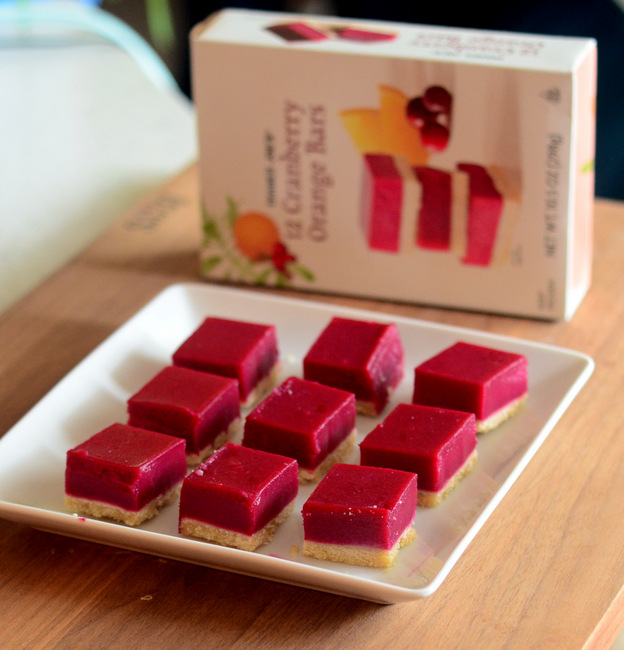
If you’re looking for an eye-catching and easy holiday dessert this year, you don’t have to look much further than the Trader Joe’s 12 Cranberry Orange Bars. These jewel-tone desserts are in the freezer section of your local TJ’s. The Cranberry Orange Bars are already sliced and ready to serve at your holiday …
Trader Joe’s Hot Chocolate Sticks, reviewed
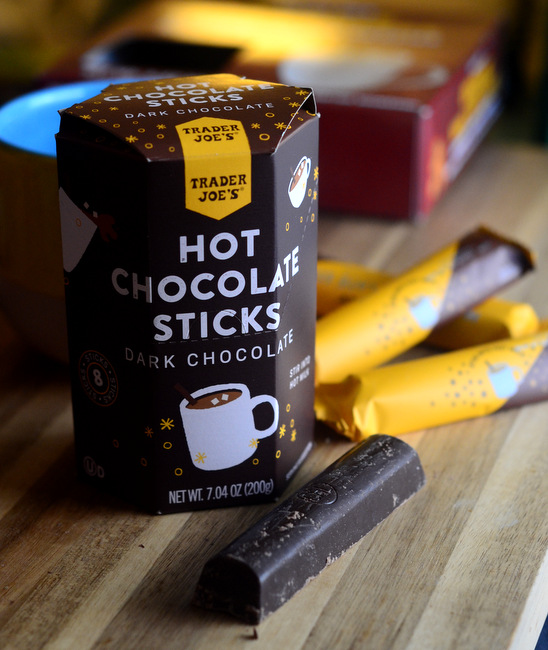
Hot chocolate is a wonderful way to treat yourself on a cold, wintery day. I’ll make it in the morning, but I tend to opt for coffee earlier in the day and make my hot chocolate a mid-day or evening treat instead. Powdered hot chocolate mix is the most common way to make …