Happy Halloween, everyone!
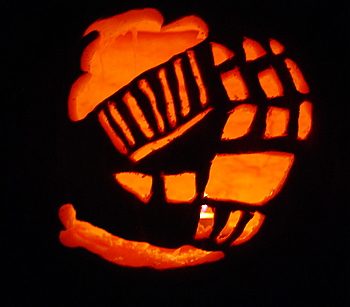
I hope you’re all done with your Halloween baking and are ready to sit back, carve a pumpkin and eat some candy this evening. My pumpkin this year had a definite baking theme: a skeletal arm holding up a …
Happy Halloween, everyone!
I hope you’re all done with your Halloween baking and are ready to sit back, carve a pumpkin and eat some candy this evening. My pumpkin this year had a definite baking theme: a skeletal arm holding up a …
 Desserts are the best part of a Halloween party for me- after all, it’s a holiday that is essentially based around sugar, isn’t it? Aside from the desserts, I usually stick with “real” foods and make burgers or something else that is easy to cook and serve, especially if there is a …
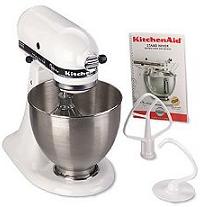 A mixer is a crucial tool to have in the kitchen, especially if you do a lot of baking. They are so efficient at whipping egg whites and mixing dough that the it’s almost crazy to try to do everything strictly by hand (or with a whisk) all the time. A hand mixer is …
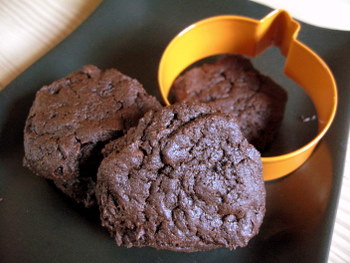
Alice Medrich’s recipe for cocoa fudge cookies is one of my favorite chocolate cookie recipes. Not only are they delicious, but the cookies are also quite low in fat. The secret ingredient in these cookies is yogurt, which adds moisture and tenderness to the cookies without adding in a lot …
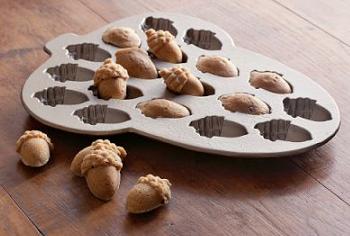
Acorns are not plentiful in my neck of the woods. There is a walnut tree near my year, so around this time of year I notice an upsurge in the number of squirrels attempting to bury things in my yard, however. I picture this pan as being a kind of homage to …
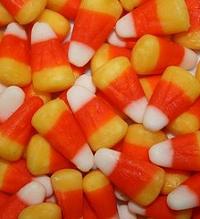 Like candy corn? I know I like to have a couple of pieces here and there during the fall season, and enjoy them enough to have created a cookie inspired by and decorated like candy corn. But unless you spend your spare time trying to make your own candy corn …
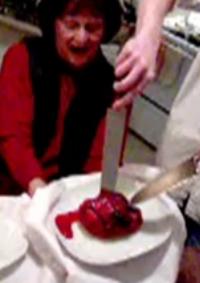
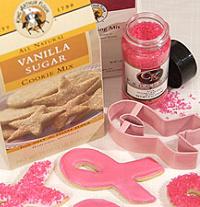 October is national breast cancer awareness month, and although the month is drawing to a close, the idea behind it is to draw attention to breast cancer research and gain support for it throughout the year. There are fundraisers and walks to participate in, but as with most things, the best way to start …
MY LATEST COOKBOOK IS NOW AVAILABLE

YOU CAN ALSO FIND ME HERE

![]()