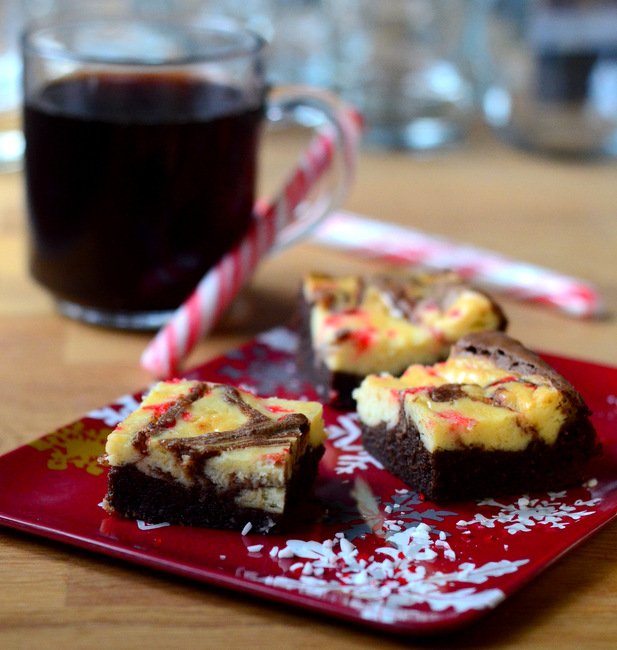
A hot peppermint mocha is an indulgent way to take off the chill on a cold winter night. I love the combination of chocolate and peppermint – and it is even better once you throw a little bit of coffee in to the mix! My Peppermint Mocha Cream Cheese Brownies are a holiday …
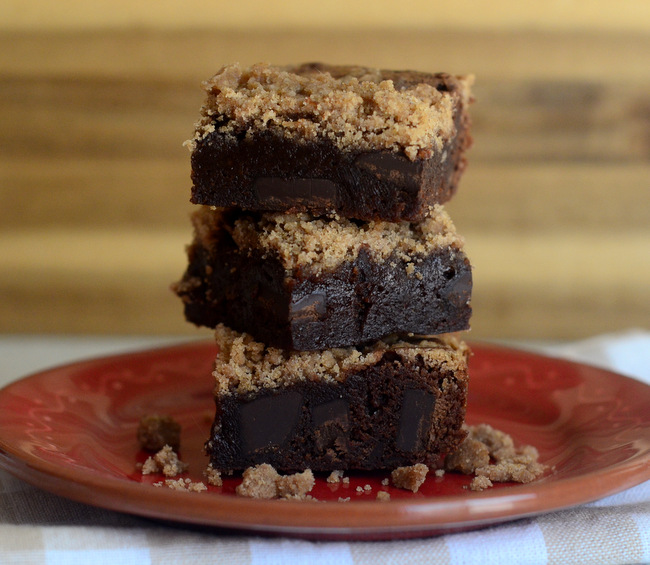
Double Chocolate Ginger Cookie Bars

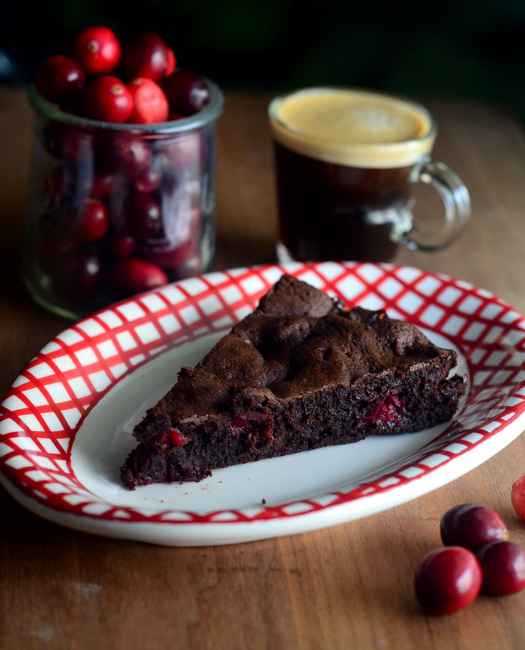
Chocolate cookies are crowd pleasers any way you serve them. I bake up a variety of chocolate cookies all year round, and these Double Chocolate Ginger Cookie Bars are a hit in any season. The brownie-like bar cookies are studded with chunks of candied ginger and are packed with both dark and …