I’m going to be vacationing on the Big Island of Hawaii for the next week. I don’t know if I’ll be able to upload any photos while I’m there, but I’ll give it a shot. If not, I’ll be back in a week. Aloha!
…
I’m going to be vacationing on the Big Island of Hawaii for the next week. I don’t know if I’ll be able to upload any photos while I’m there, but I’ll give it a shot. If not, I’ll be back in a week. Aloha!
…
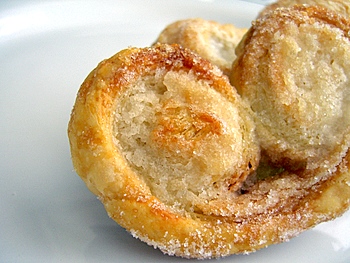
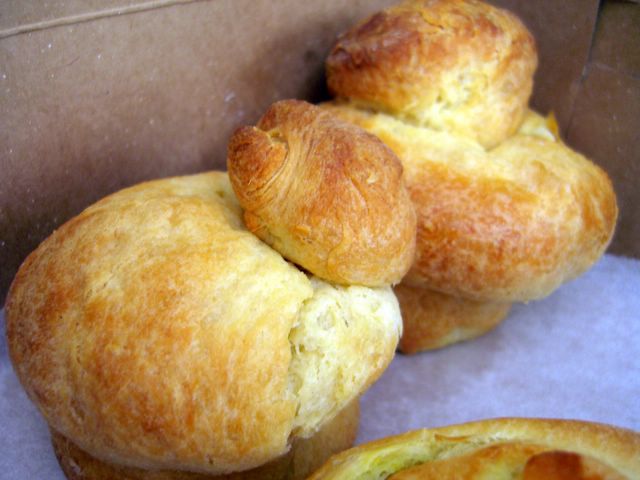
A pair of recipes today! I made puff pastry from scratch. It is far and away the best puff pastry I have ever tasted, and I can say the same thing for the palmiers that resulted from the batch.
I primarily use frozen puff pastry. It is convenient, inexpensive and …
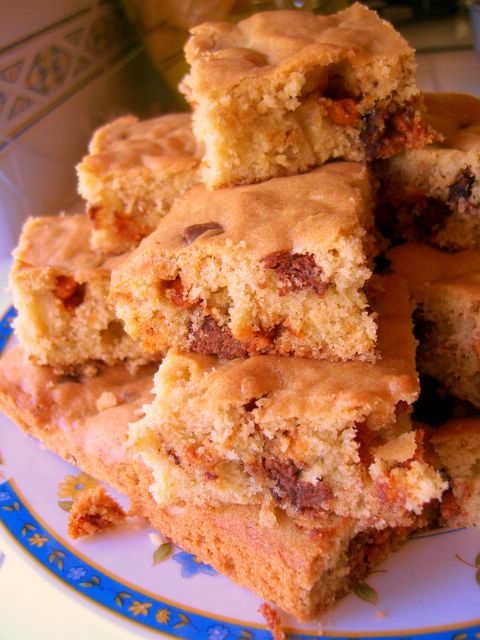
Blondies are a great thing to make when you’re visiting someone else’s home. They are as simple as baking a batch of cookies, but actually take less time because all the dough goes into the oven at once. You can add anything that is lying around the kitchen, so having …
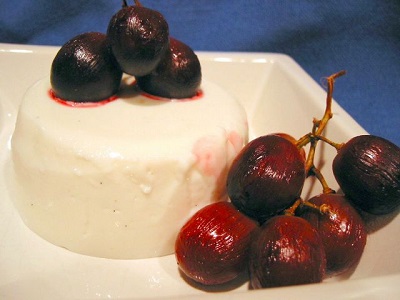
Still reeling from my success with gelatin in the last IMBB, I tried my had at another gelatin dessert. I found Cardamom Yogurt Pudding on Epicurious. It looked so simple that I had to try it.
As always, I read the reviews …
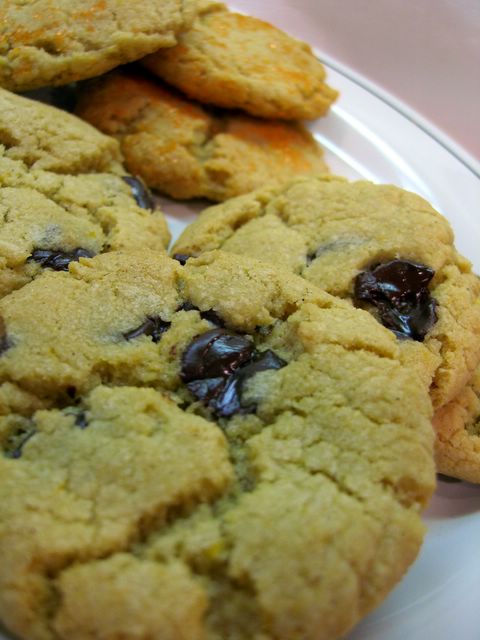
I have not been baking enough cookies lately. And cookies are one of my favorite things to bake! They travel well and can be subject to endless variations – even within one batch of dough. Even so, for this month’s Sugar High Friday, with an end-of-winter citrus …
We started out brioche dough last week and left it in the freezer. Brioche is a very enriched french pastry dough – the french pastry dough, in fact. I discovered that I thought I had had brioche, but I was wrong. It seems that many bakeries, at least …
MY LATEST COOKBOOK IS NOW AVAILABLE

YOU CAN ALSO FIND ME HERE

![]()

