
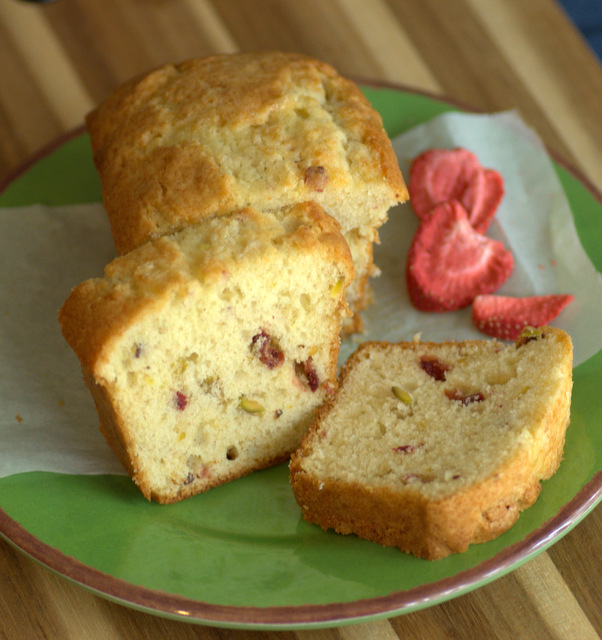
These Vanilla Pistachio and Strawberry Mini Loaf Cakes are a great choice for entertaining. The easy to make cakes have a buttermilk and vanilla base, and they are studded with chopped pistachios and strawberries. I used freeze dried strawberries in these cakes, which give nice pops of both color and …


Most popular posts
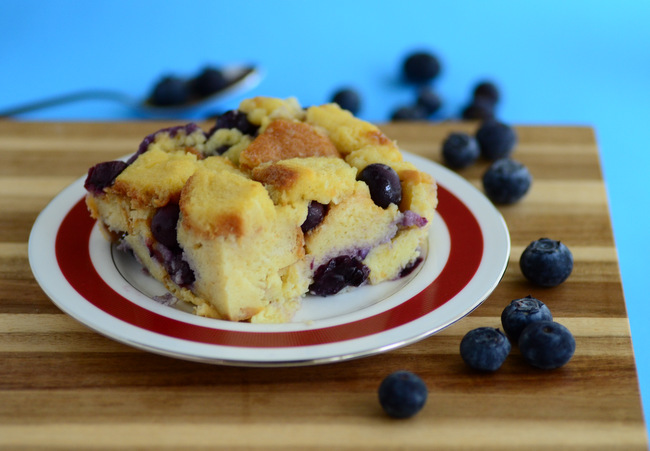
Blueberries and Cream Bread Pudding
Blueberries are delicious when they are ...
The Easiest Pumpkin Pie: Pumpkin Pie with Sweetened Condensed Milk
Many pumpkin pie recipes call for ...
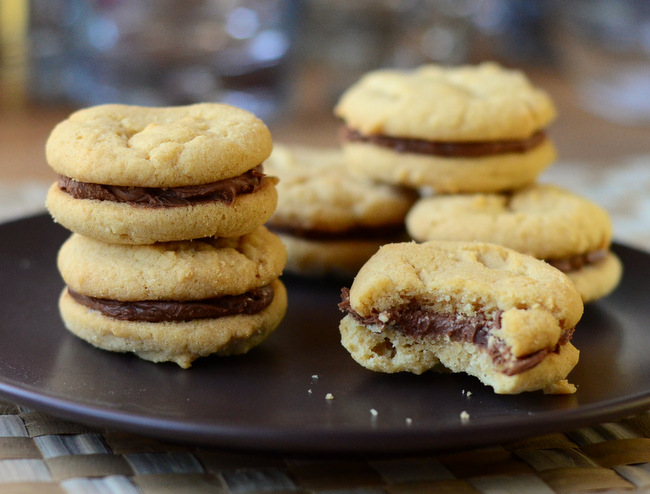
The Best No-Mixer Sugar Cookies
I love desserts that you can ...
Lemon Sour Cream Bundt Cake
Lemon is a bright, sunny flavor ...