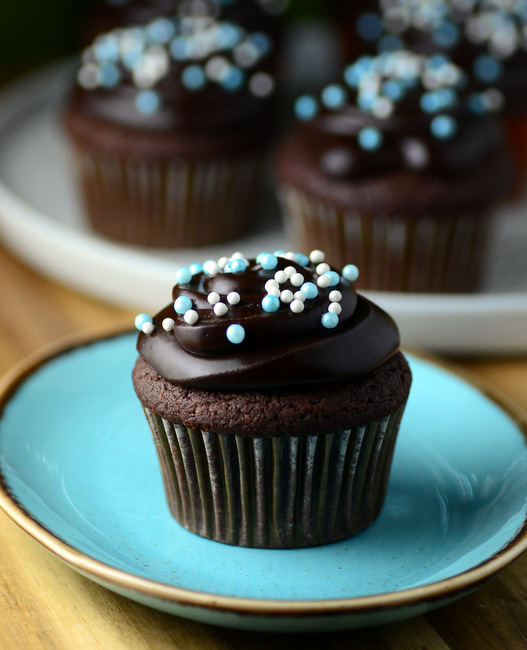
There are plenty of chocolate cupcake recipes out there to choose from, but this indulgent recipe might just be my favorite. These Double Chocolate Cheesecake Cupcakes have a deep, dark chocolate flavor and are topped with a decadent dark chocolate ganache, delivering a double hit of chocolate in every bite. They are also …
Brown Sugar Apple Cupcakes with Candied Ginger
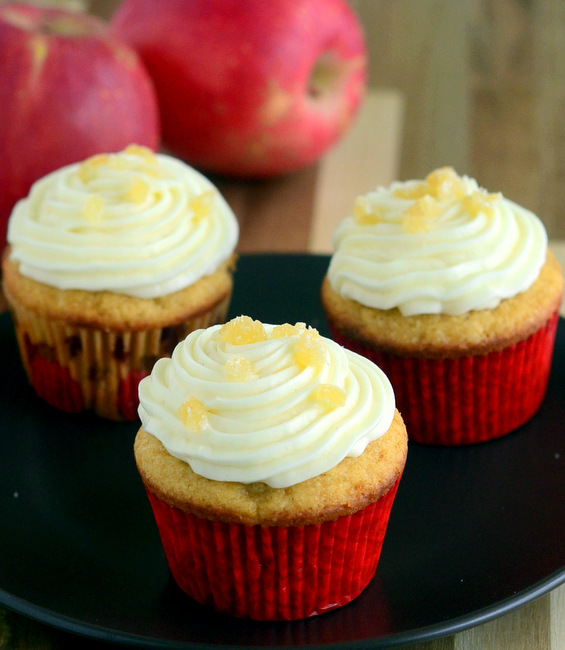
Apple pie is always a favorite dessert in my kitchen, but I’ll admit that I don’t always have a basket full of apples on hand ready to bake with. These Brown Sugar Apple Cupcakes with Candied Ginger are an excellent choice for times when you want an apple dessert, but only have …