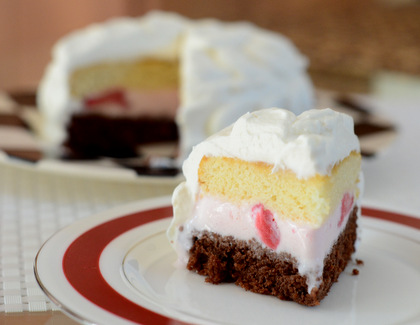
Ice cream cakes are fun to make at home because it is easy to customize them with your favorite flavors of cake and ice cream, so you’re not bound to the small handful of options that they have at the nearest ice cream shop. It isn’t difficult to stack up the layers of …
What is malted milk powder?
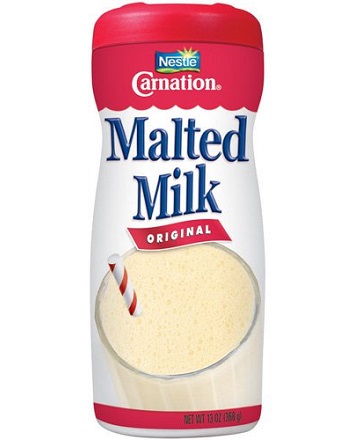
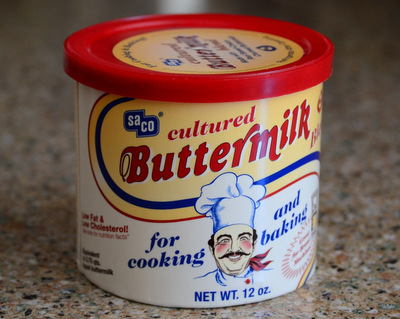
Malt is cereal grain that has been dried, sprouted, dried a second time and then toasted in an oven. Any grain can be malted, including wheat, oats and rice, however barley malt is the most common type of malt that you’re likely to come across. Grains are malted to give them additional layers …