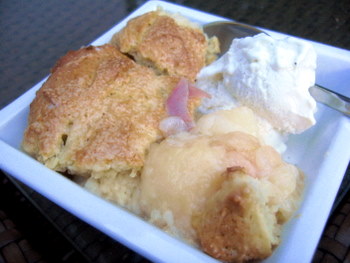
As a kid, I wasn’t a big fan of peaches. I didn’t care for the fuzzy skin or the way that I always managed to end up with either a tart and underripe peach or a mealy overripe one. Then, quite by accident, I came across white peaches and my opinion of …
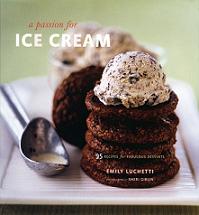 Hot summer weather and cold desserts – what could be a better combination? There isn’t a simple answer to that question because it depends on personal preference (apple pie a la mode is awfully good competition!) and whether or not you have a copy of
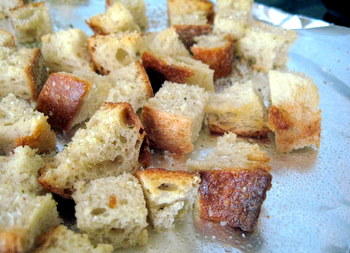
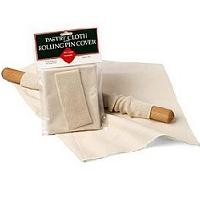 Conventional wisdom says that if your rolling pin is sticking to your dough – whether it is bread dough or cookie dough – you should lightly flour the pin and press on, adding more flour as needed. Adding small amounts of flour to a dough is rarely a problem in terms of altering the …