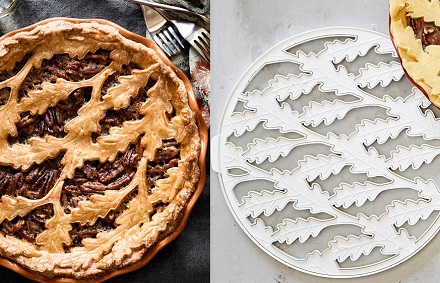

Most pie crusts are made with flour, butter and water, with a pinch of salt and sugar to add a little bit of additional flavor. The three basic ingredients change in proportion from recipe to recipe, but they are rarely replaced. This Buttermilk Pie Crust is a departure from my “usual” pie crust …
6 Ways to Add Flavor to a Graham Cracker Crust
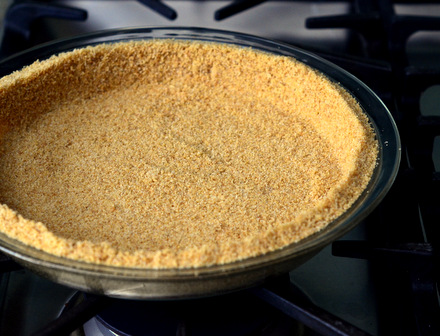
Graham cracker crusts are fantastic with many different pie fillings, from pumpkin to chocolate cream. They’re easy to make and there are even no-bake versions that you can use with no-bake fillings. The problem with graham cracker crusts is that they can get boring after a while because they …