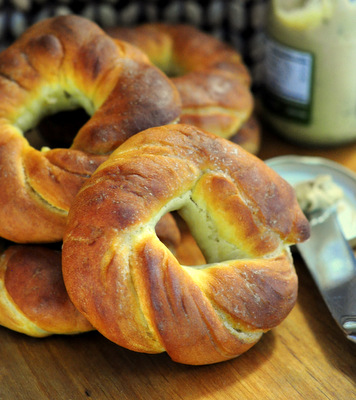
Part bagel, part pretzel. A Pretzel Bagel delivers the best of both types of bread because you can enjoy it as-is (or topped with mustard), like a soft pretzel, or you can split it open and make it into a great sandwich for breakfast or lunch. This homemade recipe is easy to make …
Brown Sugar and Coconut Cinnamon Bun Bread
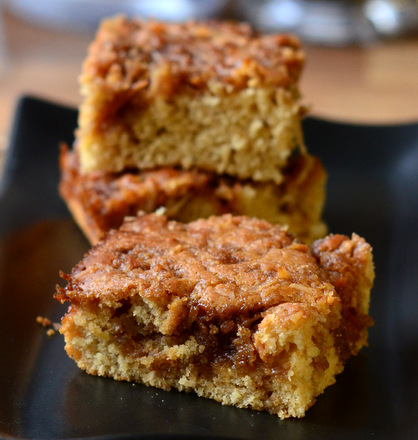
An easy to make brunch dish is perfect for entertaining any time of year, whether you’re enjoying a lazy Sunday morning on a warm summer day or cozying up to the fire place on a chilly winter morning. One dish that I particularly enjoy is this Brown Sugar and Coconut Cinnamon Bun Bread, …