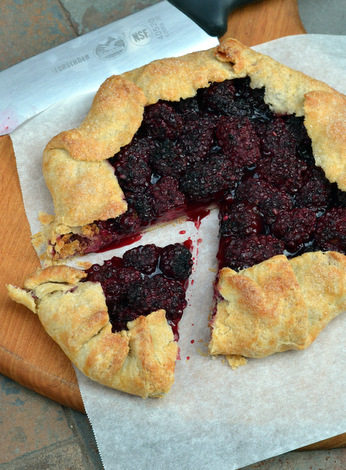
Galettes are one of my favorite tarts to bake. Not only are they delicious, but they’re easy to make and don’t require any special equipment because the crust is shaped by hand right on a baking sheet. This Blackberry Galette is a wonderfully easy dessert to make when you find yourself with a …
Blueberry Lemon Cheesecake Galette
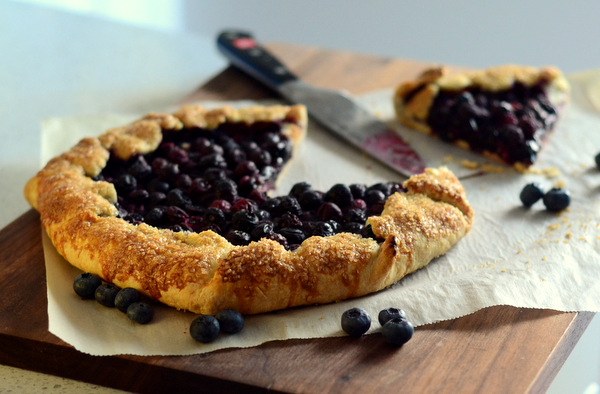
Galettes are free-form tarts that are typically filled with fresh fruit, but the fillings aren’t limited to fruit and you can get creative to make some very delicious combinations in this style of rustic tart. My Blueberry Lemon Cheesecake Galette does use fresh blueberries, pairing them with a layer of lemony …