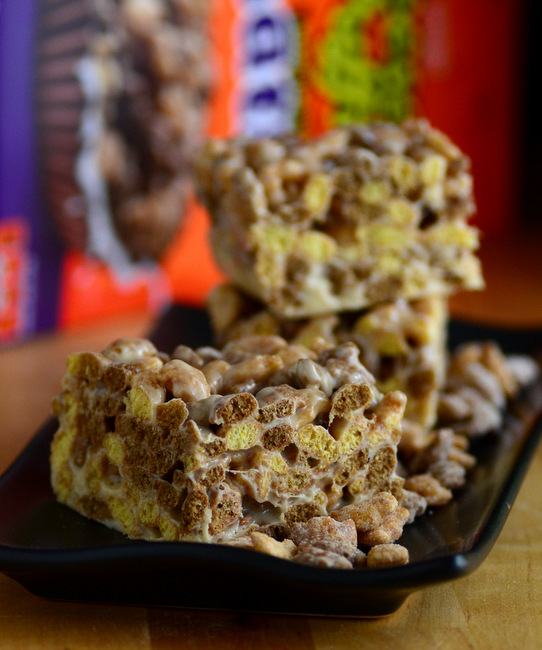
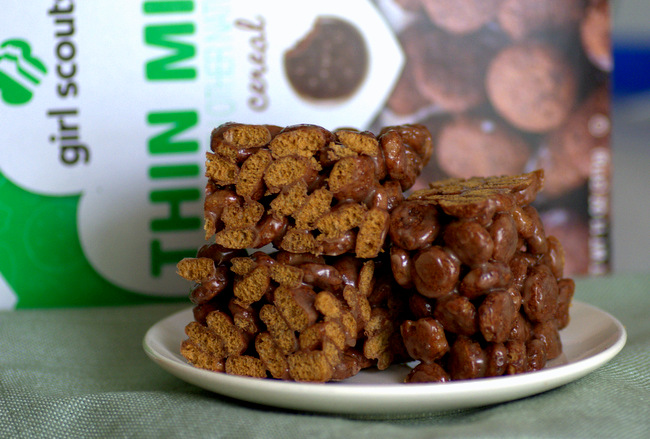
Salted Dark Chocolate Count Chocula Candy Bars
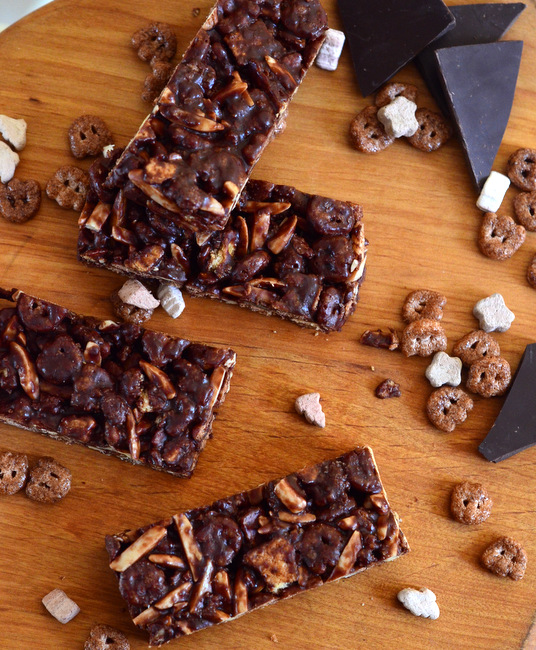
I always get nostalgic when I see Halloween cereals hitting the shelves. I remember the ads for Count Chocola, Booberry and Frankenberry from my Saturday morning cartoon days all too well, so they really are part of the season – even if I don’t eat as much of them now as I …