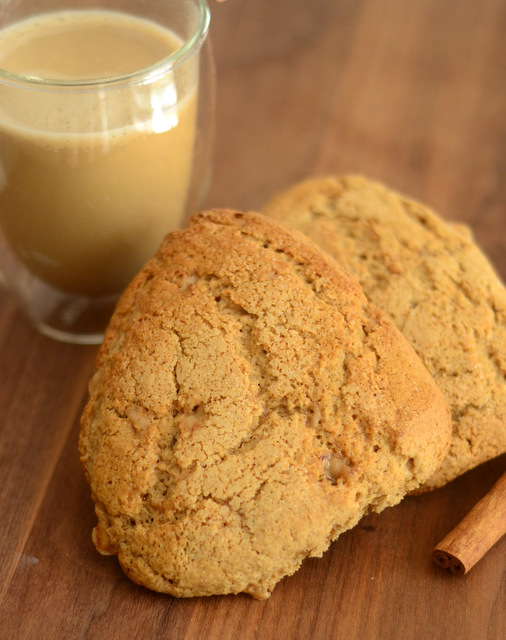
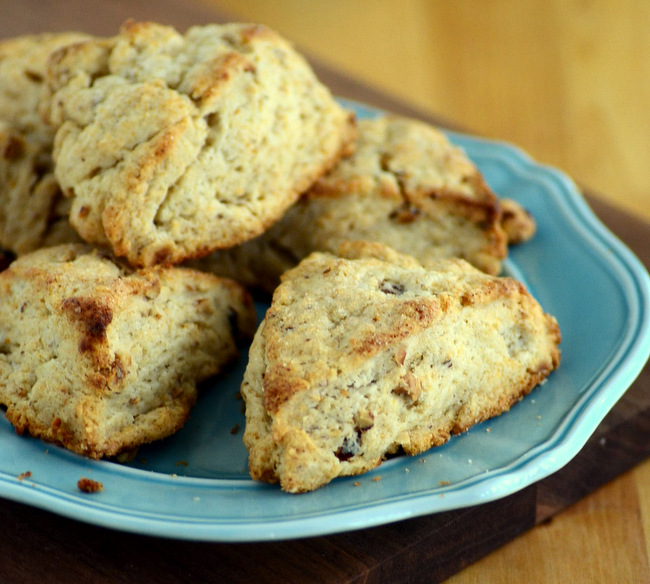
Scones are always a welcome addition to my breakfast table and I will frequently whip a batch up to go with a freshly brewed pot of coffee on a quiet morning. Scones are easy to make and come together very quickly – two features I like in my breakfast foods. These simple Hazelnut …
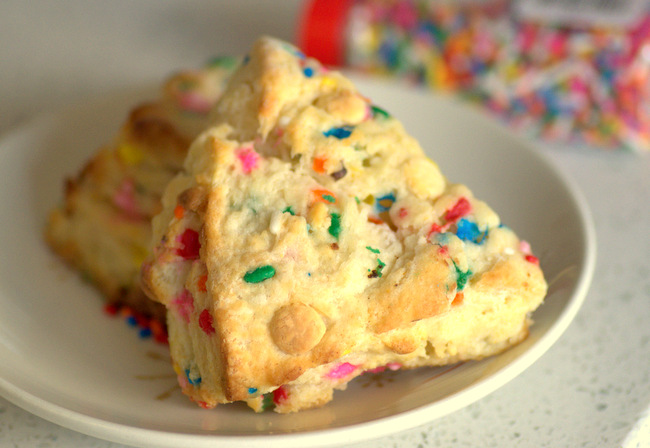
Candy Corn Scones

Whether you love ’em or hate ’em, candy corn is a fixture of the candy aisle during the Halloween season. It is one of the most popular – and most googled – candies of the season. I happen to fall on the “pro candy corn” side of the issue and enjoy both snacking …