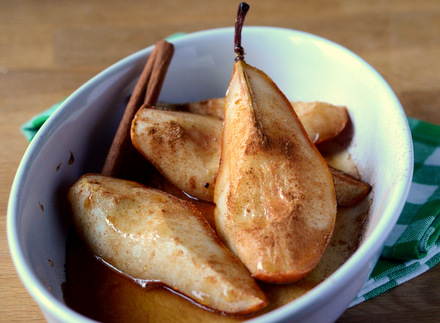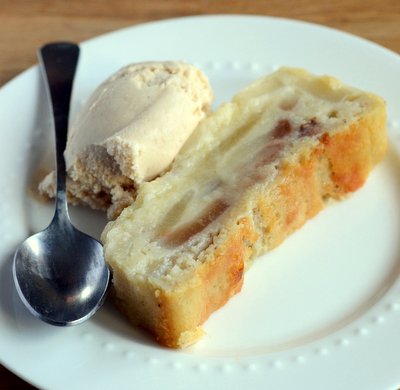
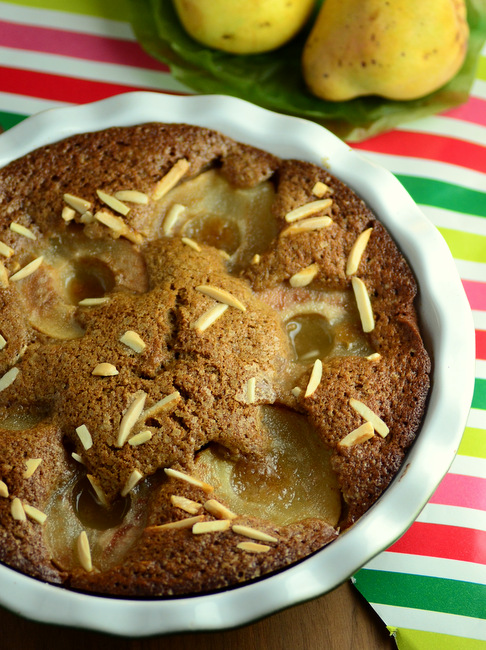
Pears can be a wonderful fruit to bake with and they’re featured in some of my favorite fall desserts, including Double Crust Pear Pie and Honey and Cinnamon Roasted Pears. This Sticky Maple Pear Cake is yet another fantastic option when you find yourself with a few extra …
Double Crust Pear Pie
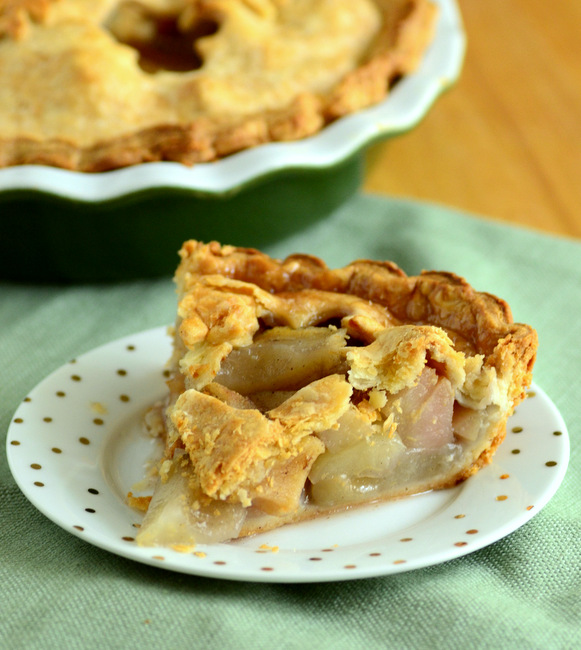
Apple pie and pumpkin pie are staples in the fall, but they’re not the only fruit pies worth putting on your dessert table! This Double Crust Pear Pie takes advantage of in-season pears and showcases them in this lovely double crust pie as an alternative to – or an addition to! – your …