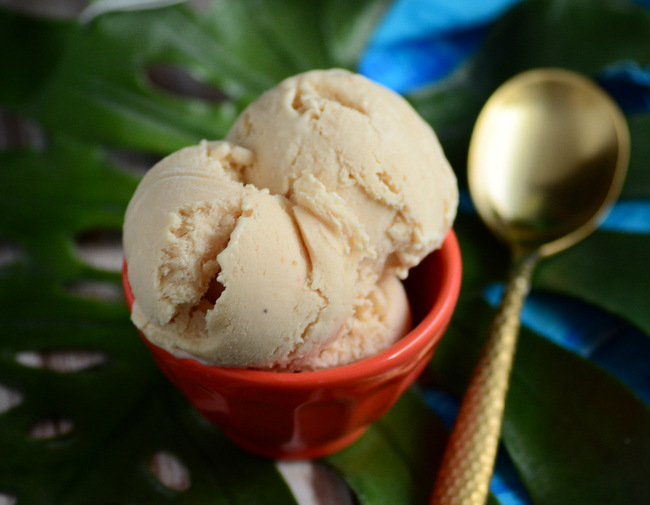

Fresh pineapples are one of my favorite fruits to have around. Not only are they good looking just sitting there, but the fruit itself is absolutely delicious and the fronds can be used to garnish various desserts and cocktails, too! I buy whole pineapples on a regular basis and use them to make …
Homemade Chocolate Chip Cookie Dough Ice Cream Sandwiches
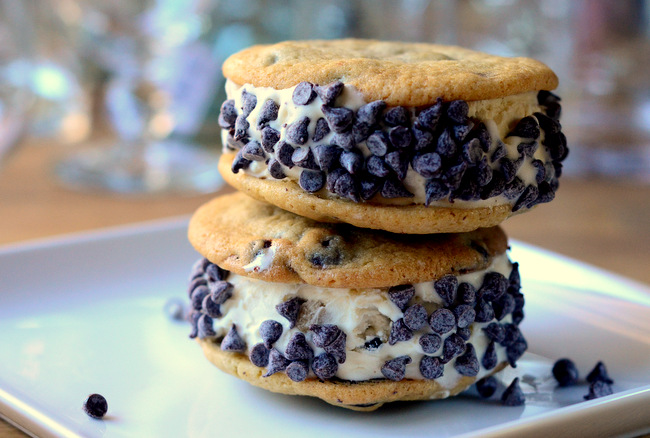
Homemade ice cream sandwiches are one of my favorite treats to fill the freezer with during the summer. They’re satisfying when you want something bigger than a popsicle, but still cool you down when it is hot outside. These Homemade Chocolate Chip Cookie Dough Ice Cream Sandwiches are made with thin, chewy chocolate …