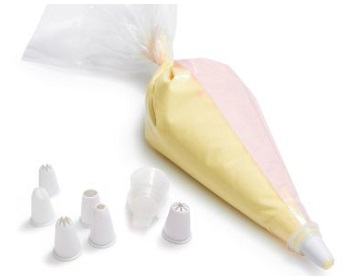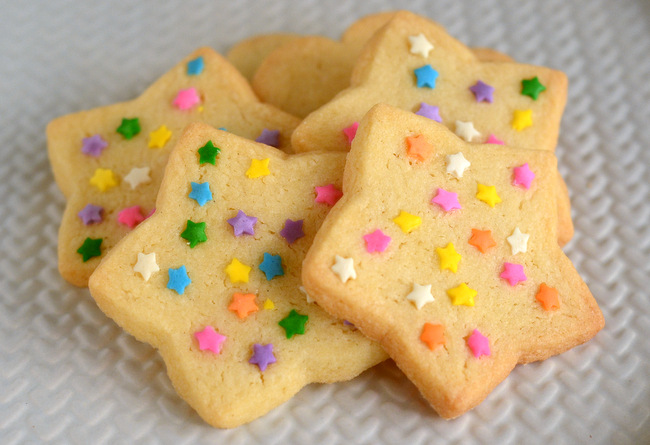
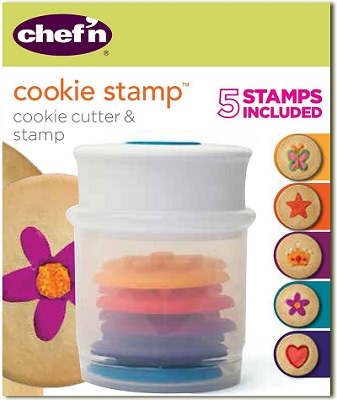
If I had to guess, I would say that more than twice as many people spend time decorating their cookies during the holidays than they do the rest of the year. Bakers who are either lazier or more pressed for time tend to opt for drop cookies or slice-n-bake doughs instead of cut …
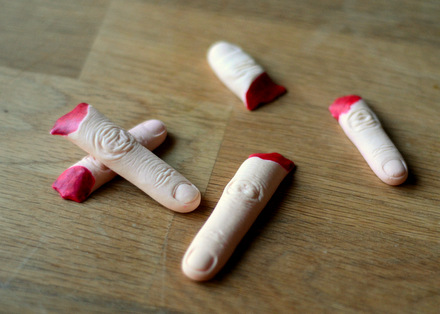
Stick On Edible Eyes
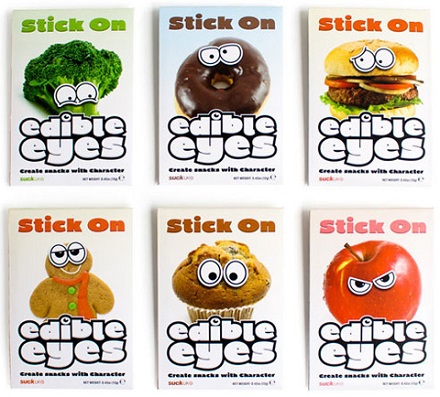
There are plenty of people who don’t want to eat food that is looking back at them, but even the pickiest eaters might be inclined to make an exception if the thing looking back at them is a donut or slice of cake. With Suck UK’s Stick On Edible Eyes, …