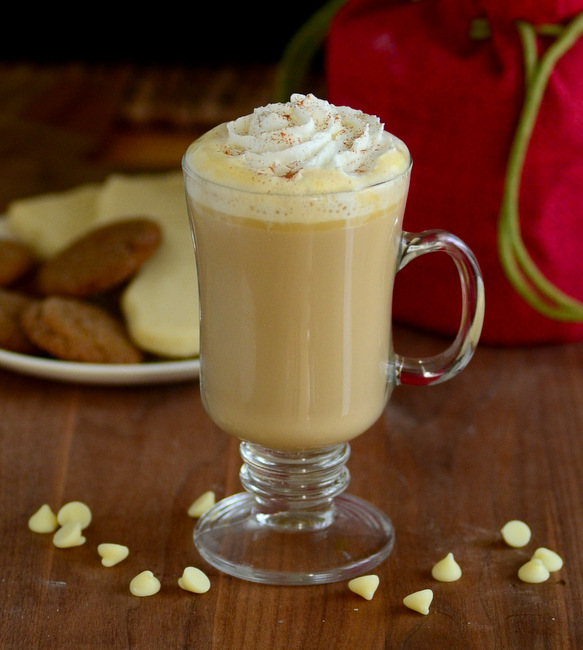
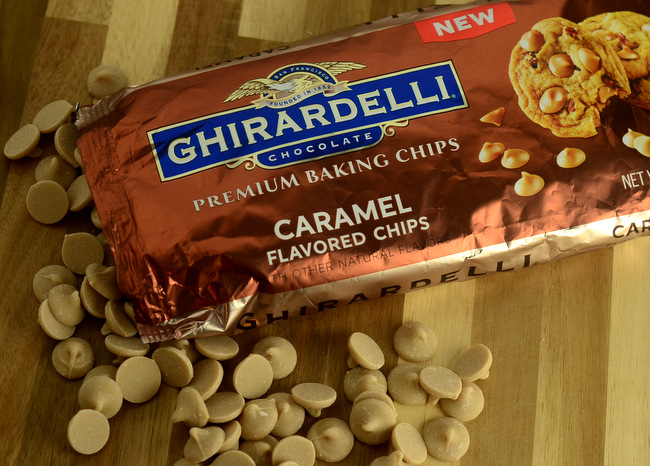
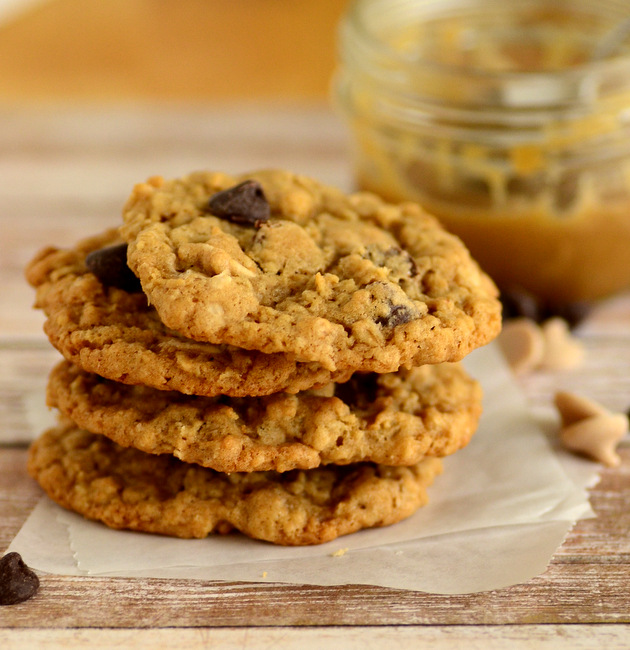
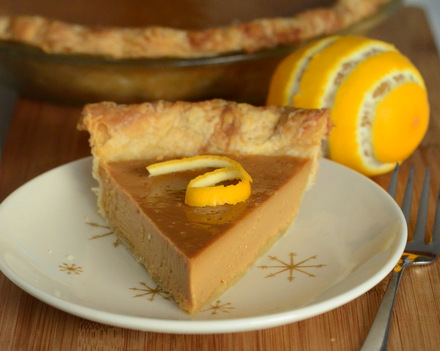
Archive for: caramel

Banana Cake with Orange Caramel Glaze

Banana Cake with Orange Caramel Glaze
Banana bread isn’t the only option when you have a bunch of overripe bananas sitting in your kitchen. Sometimes you want something a little bit dressier than a plain loaf of banana bread and this Banana Cake with Orange Caramel Glaze is a great option. The cake is just as easy to make as banana bread (and it makes good use of those leftover bananas!), but it looks a little bit fancier when it comes out of the pan.

The cake is moist, tender and much less dense than most regular banana breads are, though it still has a wonderful banana flavor to it. It is baked in a 9-inch cake pan and kept as a single layer. It’s amazing how much just changing the shape of your baking pan can change the presentation for a dessert, elevating this banana cake from a brunch snack to a dinner party-worthy dessert. That said, this is simple enough to put together that I would typically make this to keep around my kitchen for snacking.

You could easily put a cream cheese icing on top of this cake, or even a thin layer of vanilla buttercream. I made a simple caramel glaze with brown sugar and orange juice that is drizzled over the top of the cake after it has cooled. The glaze has a slightly buttery, brown sugar flavor and just a hint of orange to it. I use light brown sugar in my caramel, but dark brown will give you a more intense flavor if you prefer to use that. Since the amount of glaze is quite small, I did not bother cooking it in a saucepan, but instead simply combined the ingredients in the microwave until the caramel was slightly thickened.

+Continue Reading

Homemade Sea Salt Caramels

Homemade Sea Salt Caramels
Salted caramels are one of the most addictive snacks out there. Adding salt to sweet, buttery caramels creates just the right balance between sweet and salty and makes your mouth water (in a good way!) while eating them. I often buy these treats when I see them at stores, but it is not too difficult to make sea salt-topped caramels at home – and having a good from-scratch recipe means that you can have them any time you want! These Homemade Sea Salt Caramels are buttery caramels that are topped with a generous sprinkling of coarse sea salt. These are soft and chewy, with a nice balance of sweetness and salt. You will want a candy thermometer to ensure that you get good results, but this is a relatively easy homemade candy recipe that is definitely worth trying.

There is a small amount of salt in the caramels to flavor them, but I saved the sea salt in these caramels for the topping. Although some sea salt caramels will use sea salt in the caramel itself, I found that I didn’t notice a real flavor difference when I used the sea salt in the recipe. There is, however, a huge difference between putting table salt and coarse or flaky sea salt on top of these and it is worth getting the good stuff! Any coarse sea salt that you like will work well. I personally recommend flaky Maldon Sea Salt, which has a great flavor, excellent texture and a beautiful look.

Once the caramel is prepared, you can pour it into a 9×9 glass or pyrex baking dish. The 9×9 makes caramels of a nice thickness, but if you want to make your caramels smaller (or just make a lot more of them), you can also use a 9×13 pan and get thinner caramels. Do not forget to grease the pan with butter (or vegetable oil, though I recommend butter here) before adding the caramel! The first caramel may get slightly squished when you pry it out of the pan, but the caramels generally come out easily if you remove them immediately after slicing. Use a very sharp, warm (run under hot water and dried) knife for best results.

Homemade Sea Salt Caramels

+Continue Reading

Classic Caramel Apples

Classic Caramel Apples
It is almost impossible to resist a good caramel apple. Not only are they stunning to look at, but the combination of slightly salty, buttery caramel with sweet-tart juicy apples is pretty close to perfect. I’ve worked on making a good caramel apple recipe for a long time. It is tempting just to use store bought caramels (good quality, of course!) because they are very convenient and melt down in just a few seconds in the microwave. It is much more satisfying – not to mention tastier – to make your own Caramel Apples from scratch.

To make the apples, start by cooking sugar, water and a small amount of corn syrup (golden syrup is a good substitute if you don’t have corn syrup) together in a large saucepan until it turns dark golden in color, then you stir in heavy cream, butter and salt. I usually cook the first portion of this recipe without a candy thermometer, because it is very easy to see the color of the sugar turning a deep gold. Once the cream and butter have been added, the caramel needs to cook until it reaches hard ball stage (260F) so that it will be thick enough to stick to the apples without simply running down the sides of the fruit. You will need a candy thermometer at this point to ensure that you get accurate results. The caramel making process is not difficult, it just requires a little bit of patience.

When you’re making caramel apples, you can really use almost any kind of apple that you like. Some people really like tart Granny Smith apples as a contrast to the caramel. Others prefer a sweet apple, any kind that they would normally choose for a snack. I tend to use the same types of apples that make good choices for apple pie, apples that are crisp have a bright flavor, like Braeburn, Fuji and Pink Lady apples. I also like the look of a red apple underneath all that caramel, so I definitely go out of my way to choose particularly good looking apples when I’m ready to make a batch of these!

Once the apples are dipped, place them on a silpat or a piece of parchment paper to set up and they will be easy to peel off once the caramel has cooled. This recipe makes enough caramel to cover 6 large apples. You can double it (be sure to use a much larger saucepan!) if you want to make more, though I would recruit an assistant to help with dipping if you’re going to make that many. They will keep well for several days, but should be kept in a cool, dry place if you’re not going to indulge right away.

+Continue Reading

Kendall Jackson’s Double Gold Caramel Corn

Double Gold Caramel Corn

When you’re out tasting wine on a lazy weekend in Sonoma, you might expect your wine to be paired with cheese, crackers or maybe even some fresh-from-the-vine grapes. You’re probably not expecting to pair wine with caramel corn. If you happen to be visiting the Kendall Jackson Wine Center in Santa Rosa, California, however, you might need to change your expectations a bit because the caramel corn that they make there and serve as a pairing with one of their sweet, late-harvest wines is absolutely fantastic.

And fortunately for those of you who don’t live near the Sonoma Valley – or those of us who just returned from there – the chefs at Kendall Jackson have kindly shared their recipe on their blog so that anyone can make it at home.

Kendall Jackson’s Double Gold Caramel Corn is pretty much the perfect caramel corn, especially if you like the salty-sweet taste of kettle corn. It is sweet and salty, with a generous amount of kosher salt added to the caramel before it coats the popcorn. The addition of salt prevents the popcorn from being overly sweet (which many caramel corns are) and makes your mouth water every time you pop a piece in.

The instructions left by the chefs are quite specific and, if you follow them carefully, you’ll end up with perfectly crisp caramel corn. The caramel is made with butter, brown sugar and corn syrup on the stove top. Salt, vanilla and a small amount of baking soda (to aerate the caramel and prevent it from becoming too dense and difficult to bite into) are added before the caramel is tossed onto air-popped popcorn (you can buy this, plain, at the grocery store). The coated caramel corn is baked at a low temperature to dry it out and keep the popcorn crisp and fresh. You’ll have to wait until it cools down to dig in, but the recipe is not difficult and not too time consuming. If you’re like me, you’ll go through a batch of this fairly quickly – especially if you have a bottle of the amazing Kendall-Jackson Late Harvest Chardonnay to pair it with. Store the popcorn in an airtight container after it has completely cooled if you’re not eating it all at once.
+Continue Reading

Salted Caramel-Filled Molten Chocolate Cakes

Caramel-Filled Molten Chocolate Cake
Is there anything that salted caramel can’t make better? There are actually plenty of desserts out there that salted caramel can’t improve on (although it’s difficult to come up with more than a couple), but there are an even greater number that can go from good to great with a little bit of salted caramel mixed in. One of these recipes is a molten chocolate cake, a.k.a. chocolate lava cake. Molten chocolate cakes are served hot and are baked so that they have oozing chocolate centers that add an extra chocolate kick to each serving and make the cakes extra decadent. This variation on the standard recipe adds salted caramel to the filling, keeping all that chocolate while adding another layer of flavor.

I relied on salted caramels that I already had in my cupboard to make these cakes. Since you only need a couple of caramels, it is much easier to start with premade caramels than try to make a whole batch just to use a half dozen. The salted caramels I used were the Trader Joe’s Fleur de Sel Caramels, which are chewy and have a nice sweet-salty flavor to them. There are several other brands of salted caramels out there to choose from, too. If you can’t find them in your area, choose another buttery caramel candy (chewy and made with good quality ingredients, not a hard candy) and use those, adding a generous pinch of coarse sea salt along with each caramel into the chocolate cakes.

The caramel melts as the cakes bake, but holds its place in the center of the cake without being absorbed by the chocolate surrounding it. This means that you get a soft, gooey caramel center and a tender, rich chocolate cake all in one dessert. The salty-sweetness of the caramel is a great contrast to all that dark chocolate. The cakes must be served while they are still hot, or the caramel centers of the cakes will start to firm up and become sticky. If you grease and flour your muffin pans or ramekins, your cakes should come out pretty easily. Silicone molds are even easier to pop cakes out of. If your cakes do stick, however, take comfort in the fact that you can cover up any imperfections with whipped cream and you’ll still have an amazing dessert.

+Continue Reading