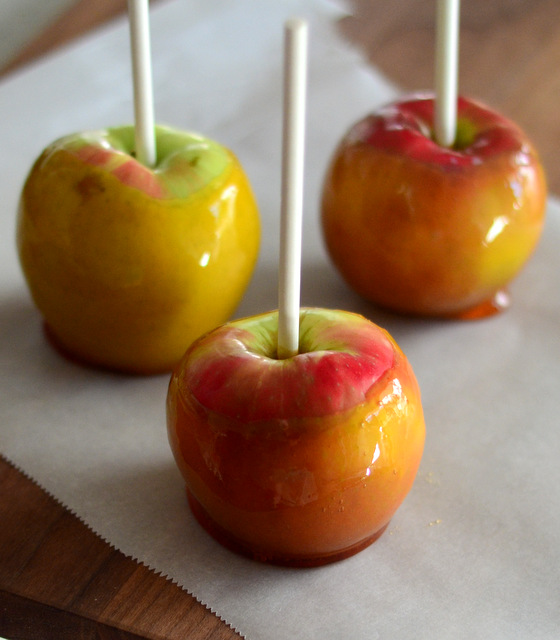
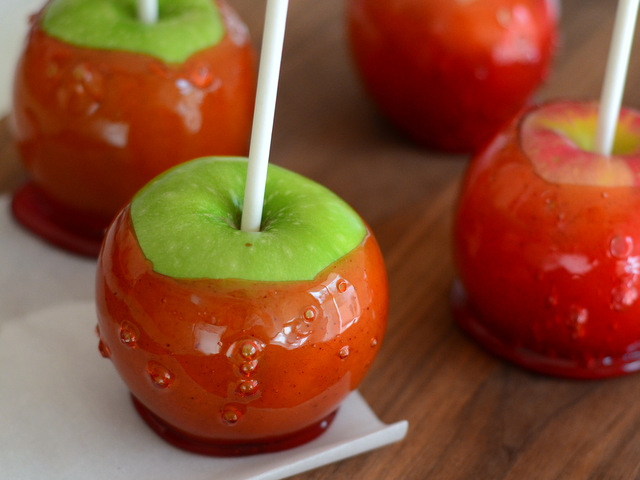
Candied apples are one of the most beautiful treats you can serve during the fall holiday season. They’re stunning to look at, a fresh apple with a crisp, glossy layer of sugar hugging its surface. They’re also surprisingly easy to make, as long as you have a little patience and a candy thermometer. …
Salted Dark Chocolate Count Chocula Candy Bars
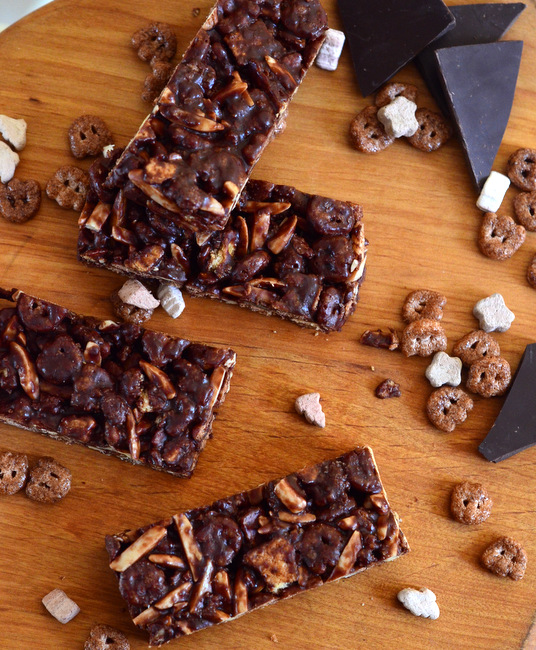
I always get nostalgic when I see Halloween cereals hitting the shelves. I remember the ads for Count Chocola, Booberry and Frankenberry from my Saturday morning cartoon days all too well, so they really are part of the season – even if I don’t eat as much of them now as I …