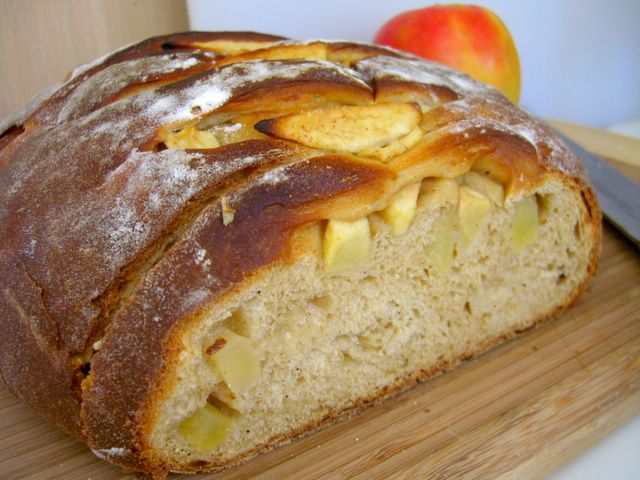
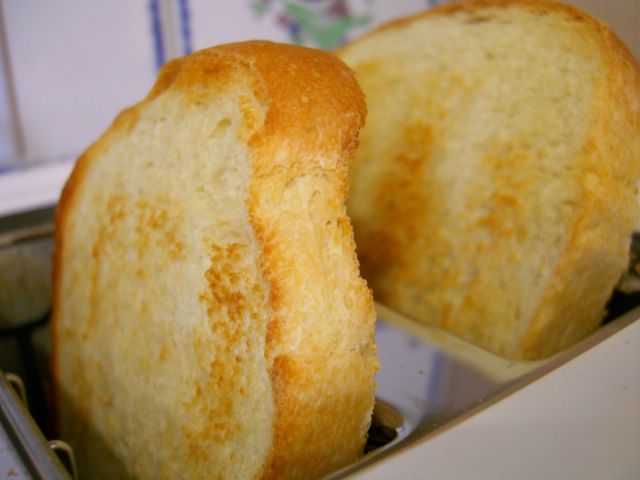
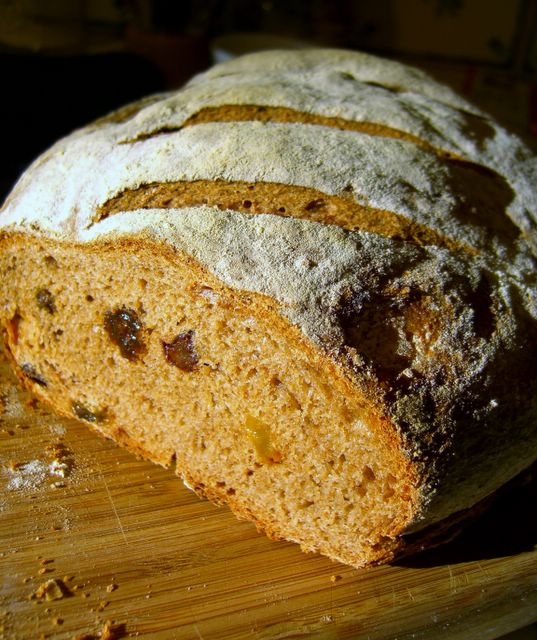
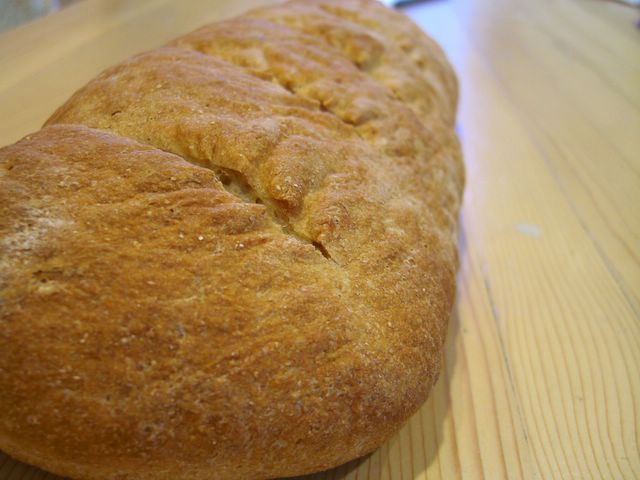
Archive for the ‘Breads – Yeast Breads’ Category

Happy Easter everyone!
This year I wanted to do something a little different from the rather ubiquitous brunch muffins and fritattas (though I did those, too) and make a real show-stopper. I rather think that I did an excellent job with it, too. But let me stop patting myself on the back long enough to tell you how I did it.
The idea for this bread started when I saw Paul Hollywood do a similar braid with colored eggs in it. I believe that it had some sort of flavoring in the rich dough, though, and I wanted to go for something sweet, something like challah. Instead of falling back to my usual challah recipe, I did a quick search and came upon this recipe for a braided Easter bread at Allrecipes.com. By combining the shape of Paul’s bread with the basic recipe from the other bread, I think I reached an excellent balance – not to mention a gorgeous-looking loaf.
The dough was very easy to handle, though it did take quite some time to rise, as many rich doughs do. While the dough was rising the first time, I dyed a few eggs. I used raw eggs, as they will cook in the oven, and food coloring as a dye. The recipe for dye is simple: 1 tbsp white vinegar, 1/2 cup water and as much food coloring as you want. I tried to go for bright colors and used loads of coloring. After the eggs had been in the dye for about 5 minutes, I took them out and patted them dry. The eggs were inserted gently into the dough after it had been shaped and had risen a second time. I brushed the dough with an egg wash and popped it into the oven.
The bread tastes like a sweet challah, a eggy and a little buttery, with a very soft and light texture. It is not a traditional Challah, as it uses milk and butter (and most challah recipes are nondairy), but it is absolutely delicious. It is also perfect with butter and jam or with a large brunch. The leftovers (minus the decorated eggs on top, of course) make great toast or french toast. If you have any leftovers, that is.
+Continue Reading

A calzone is sort of like a piece of pizza that has been folded into a pocket, or a turnover. It is made of pizza dough with some sort of filling on the inside. The filling almost always involves at least one type of cheese, though meats and vegetables are common inclusions.
There is some controversy over the calzone and it stems from the sauce. A lot of people think that there should be no sauce inside of the calzone, just filling. They believe that the calzone should be serve with or dipped into sauce. There are others who feel that there should be sauce inside the calzone. Since it looks like something that should be portable, they feel that the calzone should be a self-contained meal.
I am open to both ways, though I am picky about my fillings. I recall ordering a calzone at a local Italian restaurant, as a child, a getting a football-sized mound of cheese with some dough wrapped around it. It was revolting – and I loved cheese. Needless to say, I avoided the dish for many years after that experience, but once I realized that not all calzones were like that, I began to indulge from time to time.
I like a little bit of sauce in my calzones, with more on the side. I like only a little bit of cheese and a lot of other filling – vegetables, sausage, etc – even though cheese and sauce is all you really need to have a good calzone. I used my recipe for basic pizza dough to make the pockets, rolling it fairly thin. The most important thing in calzone making is to pinch the dough shut tightly so that the filling doesn’t escape. This is not my strong suit. I suggest using a fork to press the edges together. Make sure to cut a slit or two in the top of the calzone with a sharp knife, or no amound of pinching will prevent some leakage.
The recipe below gives you a lot of options. Once you have the dough ready, you can fill it with just about anything. The cheese, veggie and meat options are all simply suggestions. I like mine with mushrooms, though other excellent combinations are: broccoli-ricotta, chicken-mushroom, spinach-ricotta-mozarella, chicken-sausage-mozarella, ricotta-mozarella….
+Continue Reading

These baguettes are a variation on the Rustic Country Bread that I did a few weeks ago. That dough is not only delicious, but versatile. It works well in any shao, whether it is a large loaf, individual sized dinner rolls or baguettes. The one thing that changes is the baking time.
As I have mentioned before, though it is definitely worth rehashing, the best way to check if a yeasted bread is baked thoroughly is by using an internal read thermometer, or a meat thermometer, to take the temperature at the center of the bread. When the internal temperature reaches 200-210F, the bread is done. This will produce consistently cooked bread with not a whole lot of effort on your part. I mean, how hard is it to stick a thermometer through the bottom of a loaf?
I used part whole wheat flour in these baguettes, though you could certainly use all bread flour. The bread flour gives these baguettes a much better texture than all-purpose flour would. Adding a spray of water into the hot oven before baking will give these a great crust. To refresh the bread for serving, or the next day, simply place the loaf in a 350F oven for about 5 minutes.
+Continue Reading

There are times when the best recipe is the most straight-forward. I mean, there are many breads that pair perfectly with different types of meals. For example, you might only like challah (link) for french toast and might perfer a hearty rye bread (link) for soups. A lighter loaf, like honey buttermilk or wheat (links), could be your prefered bread for sandwiches. This bread can be used for all of that. It is a simple, suprisingly flavorful white bread that is outstanding for everything from mopping up soups to making toast, though it may have to be trimmed to fit into your toaster.
I will also take this opportunity to mention how important it is to follow all the steps of a bread recipe. Generally, the process is as follows: mix, knead, rise, knead/shape, rise, bake. The trickiest part is the kneading and shaping after the first rise. When the dough is mixed, you want to handle it firmly, kneading vigourously to develop the gluten and produce a satiny, elastic dough. After that first rise, the dough must be handled more gently. Air pockets have developed in the dough and, to achieve the best textured bread, you do not want to force them out. On the other hand, the air pockets will be irregularly distributed and overly large if you skip this step and go straight into a second rise. This is why the majority of bread recipes instruct you to “gently deflate” the dough after that first rise. It lets out excess air and distributes the rest evenly. It also makes the dough easier to shape. Shaping takes practice and nothing else will be able to completely compensate for experience.
What happens if you don’t deflate the dough? Click here to see. In my bread, I “shaped” it too gently – by which I mean that I didn’t shape it at all – and got a huge pocket in my final result. I took it, very, very gently, from the bowl it was rising in and placed it on a cookie sheet to rise again. This probably won’t happen with your bread and I have since made this loaf many times without problems, so don’t worry about getting a strange outcome like this one. But it does illustrate my point that gently deflating is necessary.
This bread also has a sponge, which means that the yeast is given extra time to ferment before being added to the dough. It adds an extra step at the beginning of the recipe, but doesn’t change anything about kneading and shaping the dough.
+Continue Reading

Everyone likes a dinner roll with dinner. Everyone except people who eat only low carb, I guess, and you might even be able to convince them to eat these because of the cheese inside. Each of these dinner rolls has a lump of warm, melted mozzarella inside. They go well with salad and soups, but are the best with a bowl of pasta topped with marinara, where they can be used to soak up all that delicious extra sauce.
I used those neat little balls of fresh mozzarella that are packed in tubs of water at the grocery store. Simply cut them in half and stick them into the rolls. It’s actually important not to use too much cheese, since it will just run out of the dough. Rolls are a much better shape option than breadsticks, which you can see I tried in the photo above. The round rolls held the cheese much better than the sticks did.
I topped all of the rolls with either coarse sea salt or garlic salt. Personally, I preferred the plain sea salt to top them over the garlic salt, but it’s a matter of individual preference. The salt really brought out the flavor of the cheese and I think it’s necessary to a good roll.
These are really quick to make. you can do start them at 4:30 and pull them out of the oven in time for dinner. Of course, you’ll have to watch that you don’t burn your tongue on the cheese, but it’s a small price to pay for warm, fresh dinner rolls .
+Continue Reading