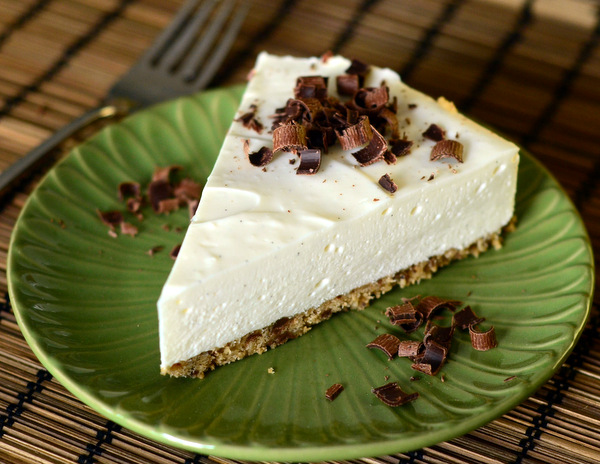

Halloween is a time to create all kinds of fun, creepy desserts. This spooky Spiderweb Cheesecake is a dessert that is perfect for Halloween celebrations – and it’s much easier to bake than you might think! The rich cheesecake base is topped with a stunning spiderweb design that contrasts well with the vanilla …
Mini Chocolate Chip Cookie Cheesecake Bites
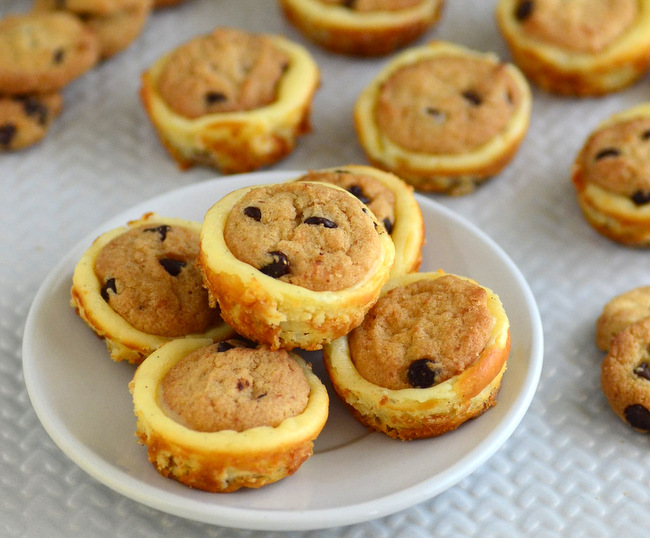
Tangy cream cheese makes a great addition to a wide variety of baked goods, from cheesecake to cream cheese frosting. These Mini Chocolate Chip Cookie Cheesecake Bites combine chocolate chip cookies with cheesecake in an unexpected and delicious way. The bite-sized cheesecakes have equally tiny chocolate chip cookies as their base and …