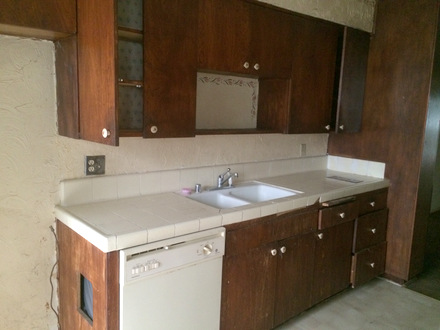
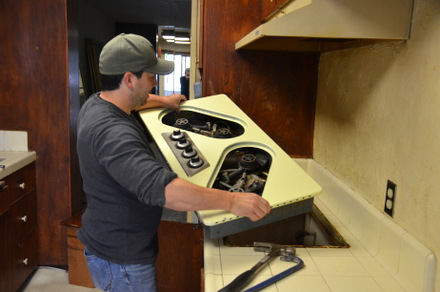
Once I decided that I needed to redo my kitchen – a decision that took less than a minute, given that the room hadn’t been upgraded since it was built in the early 1960s – I had some decisions to make. Specifically, I needed to decide if there was anything worth saving in the space. As I mentioned in my earlier post, I really liked the look of the O’Keefe & Merritt gas cooktop that was in the kitchen and I decided to have it restored. That was the first thing to come out and we  removed it carefully after unhooking the gas line.
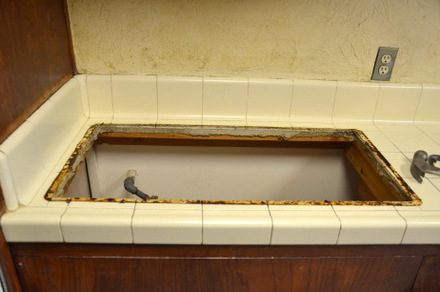
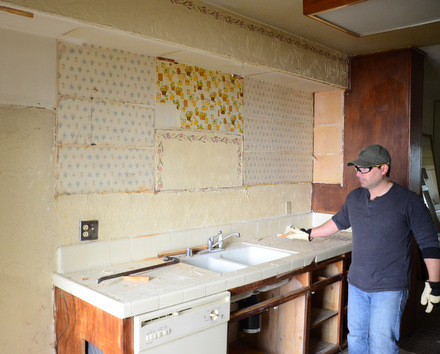
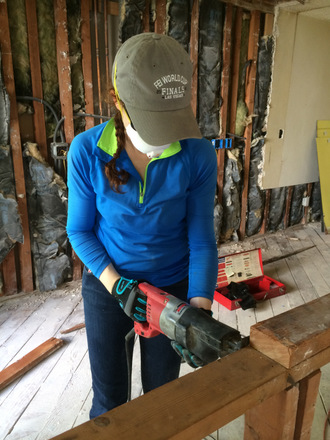
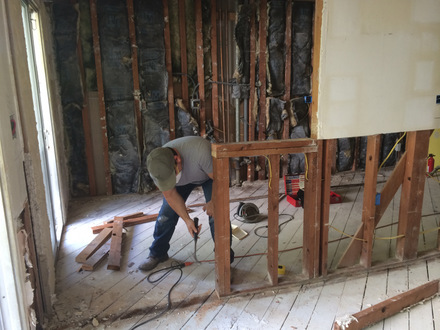
That left us with a sizable hole in the countertop, a very disgusting grease ring, and nothing between us and the rest of the demolition. I didn’t step right into the space with a crowbar and start whacking way, like they do on some of the 3-day reno shows, however. I geared up with some goggles, gloves and a mask (the bare minimum for any major demo project, as far as I’m concerned) and set about taking the existing cabinets down one by one.
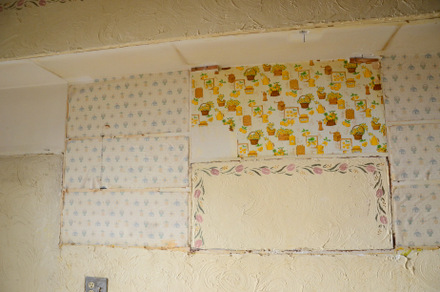
While sometimes older cabinets are of higher quality than prefab cabinets, this isn’t always the case. My cabinets were not made of exotic woods nor were they made particularly well. They were, however, covered with decades of slightly sticky grime and lined with many layers of contact paper. In taking them down, I also discovered that the cabinets did not have backs and were simply frames hung on the wall. The previous owners had used contact paper as a kind of “wallpaper” behind each of the cabinets, resulting in a very strange patchwork once the cabinets had been removed.Â
Contrary to popular belief, smashing things is not easier than simply taking them apart and it created a much bigger mess. It is easier to pull a whole cabinet off the wall than it is to smash it with a sledgehammer and sweep up all those little pieces. It is also easier to take them out to the dumpster.

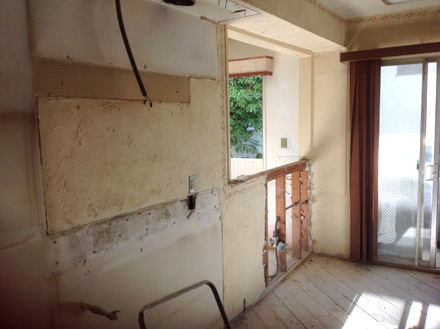
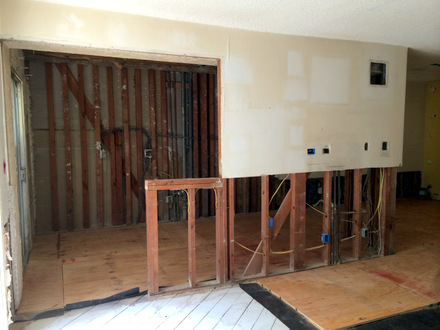
The kitchen looked a lot bigger after the cabinets were gone, but it was still a bit closed off. As you can see in the photo above, there was a built-in china cabinet at one end of the kitchen, facing the dining room. It was a neat looking cabinet, but I wanted more counterspace and could fit an extra couple of feet there by removing it.
![]()
I considered moving it to a different location, but quickly discovered that it had been built in place and was nailed directly into both the subfloor and the ceiling. It could not be moved. The cabinet ended up being the one thing that we smashed with a sledgehammer (and it made a HUGE mess, even after removing the glass doors). I hated to see it go, but the result was a kitchen that was not only bigger, but a dining room that was much, much brighter. Well worth saying good-bye to the cabinet.
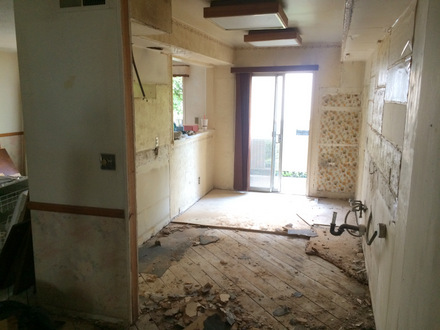
Things got a whole lot dustier when we pulled out the old linoleum, ripped down the uneven, cracking plaster on the walls to replace it with drywall and cut open the pass-through to make a wide walkway. If you’re wondering why I didn’t open up the entire wall on the left side of the picture, it is because it is full of gas lines and it simply wasn’t cost-effective to do so. Construction is about compromise – and that compromise is usually with your budget!
I’ll spare you all the dusty details and sum things up in a few pictures that will jump us ahead in the demo process. As seen on TV, the big parts of the demo – taking down cabinets, opening up walls, etc. – are usually the most interesting parts of the job.
Jumping even further ahead, with a new subfloor and upgraded electrical in place….
And one more jump with new insulation and drywall…
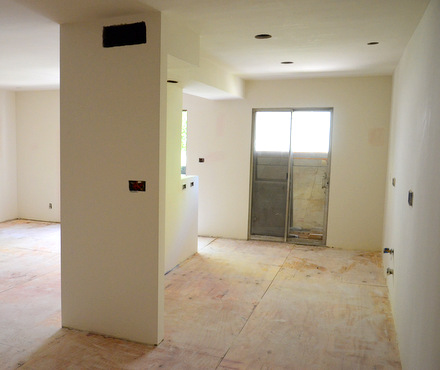
…brings us to something that looks like the start of a brand new kitchen. That looks a lot better than the last picture with all the exposed studs and water-damaged floor boards, doesn’t it? We also removed the soffit that was above the cabinets on the right side of the picture because it created a little more space for taller cabinets. The room is more open and much cleaner (even with construction dust) and ready to get rebuilt. In my next post, I’ll talk about planning out the design and details of the kitchen, so you can see how I put the whole thing back together.
Read more about my Reno:Â
- Part 1: Starting Out (previous post)
- Part 3: Planning a New Layout (next post)


Lauren
January 7, 2016That looks amazing already! wow!
Tricia
January 8, 2016Totally impressed you’ve done all that work yourselves! And I look forward to the next installment!
Ava
January 12, 2016I’m so excited for you and cannot wait to see what the final reveal will be!! Great work!
AmandaT
February 12, 2016We have a soffit as well that I *hate* and would love to remove. Did you scope it to find out if there were ducts or anything in there before demo?
Nicole
February 12, 2016Amanda – I didn’t have to scope the sofits because of the layout of the kitchen. One clearly had all the ducting in it and the other was against an exterior wall that almost certainly had nothing (above the sink, no electrical or anything on that wall).We took a chance and knocked out the sink-wall sofit without any real prep. We left the one in with the ducting, but since that is on the “open” side of the kitchen and we didn’t put any cabinets up against it, it looks like a header beam in the end.